Posts

Showing posts with the label tips

The Bilge Blower

Image
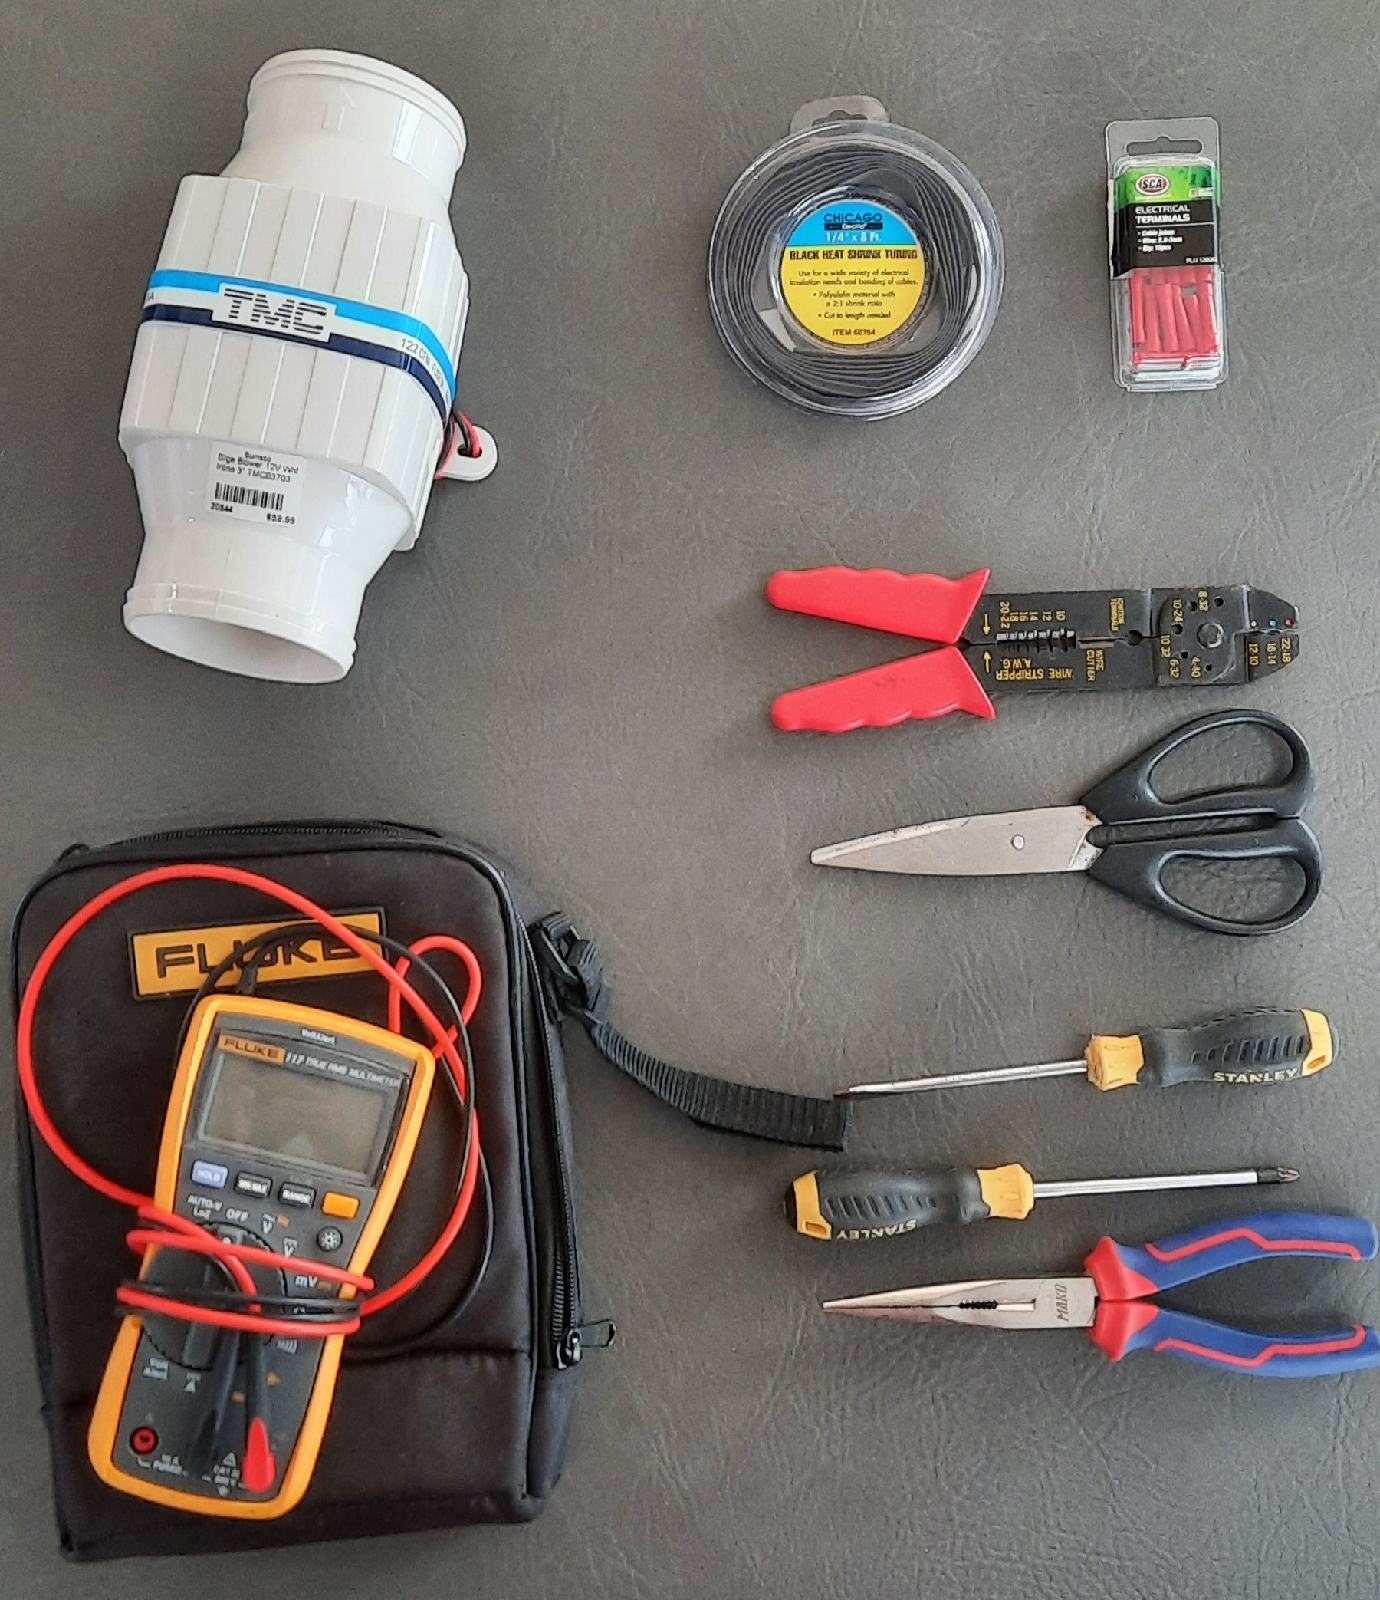
Our bilge blowers are Rule 24v 76mm. I know this because one recently died. This is how you get to know your boat better. By focusing on an area each time essential repairs or preventative maintenance is needed. It really confused me to find the 24v version installed as my boat is 12v, so where would the fan get 24v from? I could see it connected to a relay, perhaps that increased the voltage supplied to the fan somehow? I measured just over 13v with my trusty Fluke multimeter. This means the 24v fan was only running 1/2 speed. Sourcing direct replacement parts was difficult. Both Burnsco and L&P told me there were no 3" 24v blowers in the country. The 24v version is not commonly used and I worried that switching to 12v might cause problems.  It may still be possible to repair the old rule blower by cleaning the motor brushes. But I decided to just replace them with 12v blowers instead. I also decided on the TMC model. The ends of the TMC blower are still 3" but the housi...

Make your own parts with Sikaflex

Image
The sea is a harsh environment, and even sturdy marinized gear breaks down. 4 years of UV damage has turned my Lewmar #4 track stops into crumble.  This is why I found myself making do with a tube of Sika 291 and a bar of soap to replace my track rubber stops. Out in the wilder parts of the world there is not the same access to parts and services that we are used to in the West. Sometimes you need to get a little bit creative when cruising. Even out in New Zealand some parts can be hard to source. Although my track stops were on order, the expected delivery would take months. I decided to try a temporary replacement. With my last intact rubber stop, and a bar of soap, I heated the soap, and when it softened, enough, I stirred it, put in the rubber stop and waited for it to cool down.  I carefully removed the rubber stop, and with my new mould, and a tube of sika 291, I made up enough temporary stops to get by until the replacements arrived. The lesson I learned is that Sika 29...

Seized bolts - Preventative Maintenance

Image
The marine enviroment is tough. Even on a new boat metals suffer from oxidation, corrosion, stress, electrolysis.  One particularly annoying task is dealing with seized bolts. So there are lots of ways to get seized bolts out. Overnight application or CRC Impact driver Persuasion Tapping Drilling Cutting a slot *Taps *Not much success with taps. Anyway, now that you have removed your bolt, I'm guessing that you do not feel like doing that again any time soon? Well, there is a simple and easy answer. Make sure you have a tube of Tefgel onboard.  If you have any concern about seized bolts, just coat the thread with Tefgel before you put it back. I've tried it, and it works well. So either buy and use this product on your threads, or get used to unseizing blots. About to replace old track stops, these bolts will get a Tefgel topup.

Essential options - davits

Image
I'm so thankful for our davits. On the Open 40 it means that raising and lowering the dingy with the 3:1 pulley setup is simple and can be done with minimal effort.  We are in our fourth year as liveaboards over 20,000 nm sailed. We have left our Highfield CL130 with Suzuki 9.9 outboard on the davits throughout. That's pretty good going, to think that we can prepare the dingy to cross an ocean in under three minutes.  Often overlooked when securing the dingy are the cleats placed specifically to stop sideways movement. It's horrible to see someone sailing along with the dingy crashing from side to side, when it is so simple to tie up.  To secure it from sideways movement:  Lift up the dingy, aim to get the dingy side tucked in right up to the bottom of the davits.  Take the painter to the cleat just behind the main sheet winch, and tighten the so that the side of the dingy presses firmly up against the back of the boat.  Take a line from the stern of the di...

Lazyjack lines

Image
Lazyjack tips The Open 40 comes with lazyjacks running inside the mast. At some point they cross and emerge towards the second spreader. Running the line outside the mast makes them run smoother, and easier to maintain, and less likely to chafe. An added benefit is that if they break they wont get stuck inside the mast. To make this change you will need: A cleat Two small blocks A spare line to secure the blocks to the spreader A Bosun's chair, and a helper Simplfied procedure: Add a cleat to the base of the mast so that there is a cleat at either side. You could double up on the existing one. But I think it makes sense to have a dedicated cleat for each lazyjack line. Uncleat the lazyjack lines.  Remember to add/leave a mousing line, just in case you want to run something else up. Ascend the mast, and tie the blocks on the second spreader, 6" from the base of the mast. While you up at the second spreader, take out the lazyjack line and run it through the new block straight d...

Tuning the Autopilot response

Image
The autopilot is made up of an electronic compass, a controller, and an arm -  a kind of piston that attaches to the steering quadrant. The response is how quickly the system moves the rudder back and forward to keep the boat on track. I'm writing about this as we went through a set of setting cables, this can be unnerving when you are out sailing on the ocean and suddenly have no steering, but that's another story. Anyway, we are not the only ones to see broken steering cables. So what's the issue? It could be wear and tear, but we have now done more than double the miles on the new cables than we had on the old ones, and they are still in good shape, so we must be doing something else right. We are careful to keep the right amount of tension on the cables. Too tight and the steering will feel stiff, too loose and the cables could slip out their tracks. We keep them greased where they run through pulleys and the quadrant, but the main thing we do is balance the boat, and t...